Introduction #
Google Firebase Cloud Messaging powers push notifications on Android and iOS. Integrating Firebase V1 with your LearnDash App enables real-time alerts for your members. This guide covers creating a Firebase project, enabling the API, generating service keys, registering mobile apps, and uploading config files in WordPress.
Creating a Firebase Project #
- Log in to the Google Firebase Console.
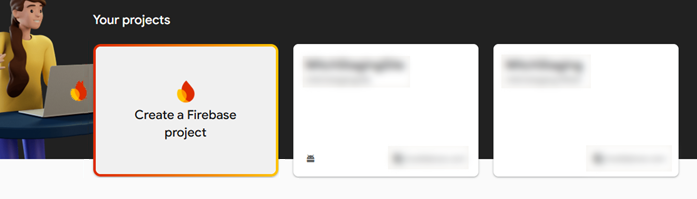
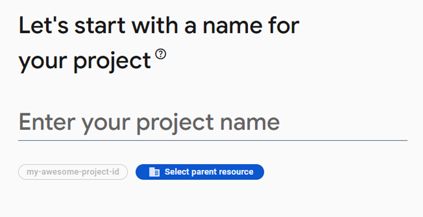
- Click Add Project, enter a name, and click Continue.
- (Optional) Enable Google Analytics, select or accept the default account, and click Create Project.
- Once setup is complete, click Continue to open your new project.
Enabling Firebase Cloud Messaging API (V1) #
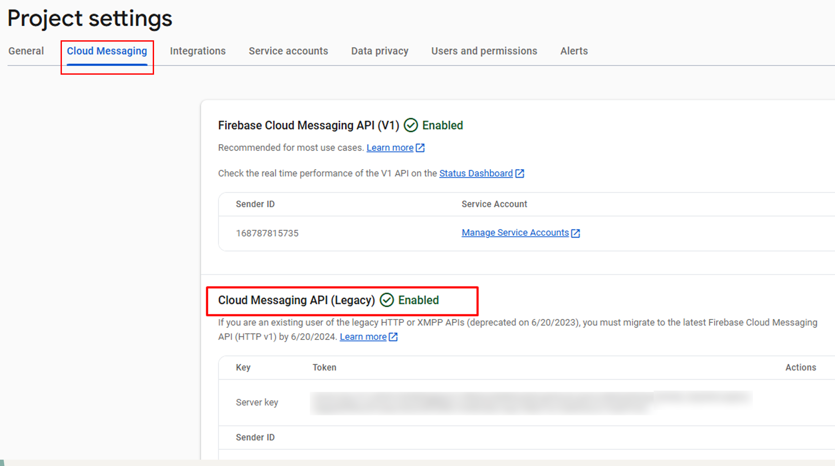
- In Firebase, click the Settings gear > Project settings.
- Go to the Cloud Messaging tab.
- If Firebase Cloud Messaging API (V1) is not enabled:
- Click the ⋮ menu > Manage API in Google Cloud Console.
- Click Enable on the Cloud Messaging API page.
- Confirm the API status shows Enabled.
- Click the ⋮ menu > Manage API in Google Cloud Console.

- Go to the Cloud Messaging tab.
- If Firebase Cloud Messaging API (V1) is not enabled:
- Click the ⋮ menu > Manage API in Google Cloud Console.
- Click Enable on the Cloud Messaging API page.
- Confirm the API status shows Enabled.
- Click the ⋮ menu > Manage API in Google Cloud Console.
Generating a Firebase Service Account Key #
- In Project settings > Service accounts, scroll to Firebase Admin SDK.

- Click Generate new private key, then click Generate Key in the popup.
- Save the downloaded .json file securely (it can’t be downloaded again).
Creating Firebase Apps #

iOS App:
- On the Firebase dashboard, click the iOS icon.
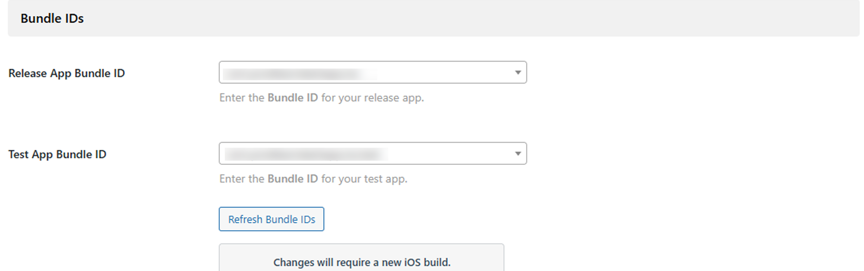
- Enter your Bundle ID from LearnDash App > Configure > iOS Settings.
- Click Register App and download the GoogleService-Info.plist.
Android App:
- Click the Android icon.
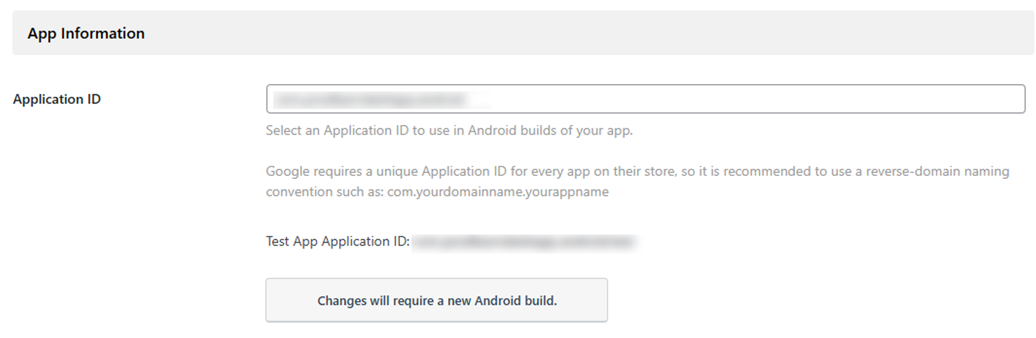
- Enter your Application ID from Learndash App > Configure > Android Settings.
- Click Register App and download google-services.json.
- Click Next through steps 2–4 and finish with Done.
Connecting Firebase to Your Learndash App #
- In WordPress, go to LearnDash App > Configure > Google Firebase.
- Under Firebase Cloud Messaging API V1, click Upload to add the .json service account file.
- Upload your platform-specific files:
- GoogleService-Info.plist for iOS
- google-services.json for Android
- (Optional) Test app config files
- GoogleService-Info.plist for iOS
- Click Save Settings.
Note: The V1 API supersedes the Legacy Cloud Messaging API.
Troubleshooting and FAQs #
Q: Push notifications aren’t working.
A: Confirm you uploaded the correct service account and config files. Rebuild the app to apply V1 settings.
Q: “Missing API key” error in Firebase tab.
A: Ensure the V1 API is enabled in Google Cloud. Re-upload the JSON file and refresh.
Q: How do I regenerate my service key?
A: Delete the old key under Service Accounts, then generate and upload a new one.
Q: Do test builds need separate config files?
A: Yes. Upload both release and test config files before saving settings.