Introduction #
Access Groups are the foundation of the Learndash App’s Access Controls system. They let you group members dynamically based on profile type, course enrollment, membership plan, or user role.
This guide shows how to create and manage Access Groups so you can control what screens, content, or menus different users see in your app.
Prerequisite #
Before creating groups, make sure Access Controls is enabled:
- In your WordPress Dashboard, go to Learndash App > Components.
- Click Activate next to Access Controls.
- Once enabled, you’ll see Access Controls appear in your admin menu.
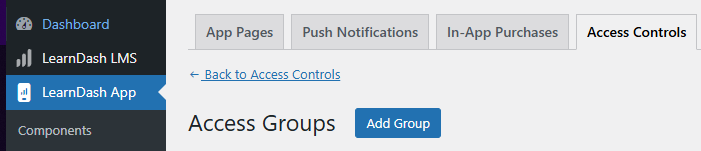
Creating an Access Group #
- Go to LearnDash App > Access Controls > Access Groups.

- Click Add Group.
- Choose a Condition Type from the dropdown (e.g., LearnDash Course, Membership Plan, User Role).
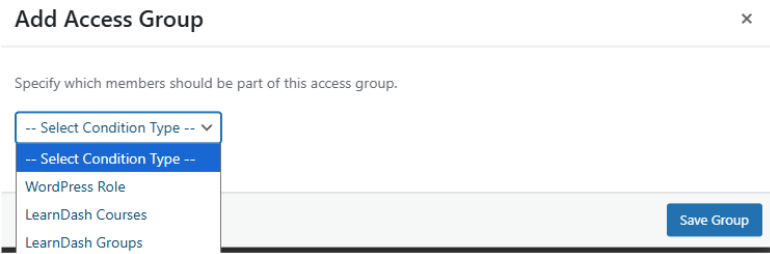
- If prompted, select a specific item (e.g., “Advanced CSS” course or “Gold Membership”).
- Click Save Group.
Note: Learndash App automatically counts how many members match each group. If your course, role, or membership changes, hover over the group name and click Recalculate Members to refresh the count.
Viewing & Managing Group Members #
- Recalculate Manually: Hover over a group and click Recalculate Members.
- View Members: Go to Tools > Recalculate Access Groups and click the member count next to any group.
Troubleshooting and FAQs #
Q: Why does my new group show 0 members?
A: Click Recalculate Members on that group and refresh the page.
Q: I don’t see my membership plugin listed.
A: Make sure the plugin (e.g., WooCommerce Memberships) is installed, active, and configured before setting up groups.
Q: Can users belong to multiple access groups?
A: Yes. Access groups are independent—members can match multiple group conditions.
Q: My user role or course updates aren’t showing.
A: Recalculate the relevant group to refresh its membership list.