Introduction #
Delivering tailored navigation experiences can enhance user engagement and streamline app usage. Multiple Versions of App Menus allow you to customize your Learndash App’s Tab Bar and More Menu based on login status, access group, membership level, course enrollment, or profile type.
This guide walks you through setting up different menu versions for guests and logged-in users, styling your navigation, and prioritizing menus when a member qualifies for more than one.
Creating a Menu for Logged-Out Members #
To show a simple menu for guests (non-logged-in users):
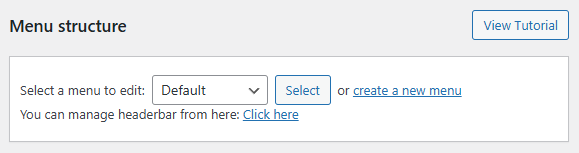
- Go to LearnDash App > Menus > Tab Bar (or More Menu).

- Click Create a new menu.

- Under Login Status, select Logged-out Members.
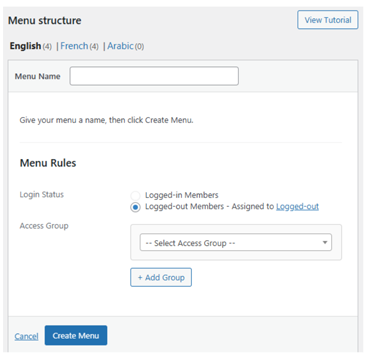
- Click Create Menu.
- Add items from Add Menu Items.
- Click Save Menu.
Note: You can only create one Tab Bar and one More Menu for logged-out members. These menus only display if Private App is disabled under Learndash App > Settings > General > Privacy.
Creating Menus for Specific Access Groups #
To create custom navigation for different user groups:
- Go to Learndash App > Menus > Tab Bar (or More Menu).
- Click Create a new menu.
- Enter a Menu Name (e.g., “Gold Members”).
- Set Login Status to Logged-in Members.
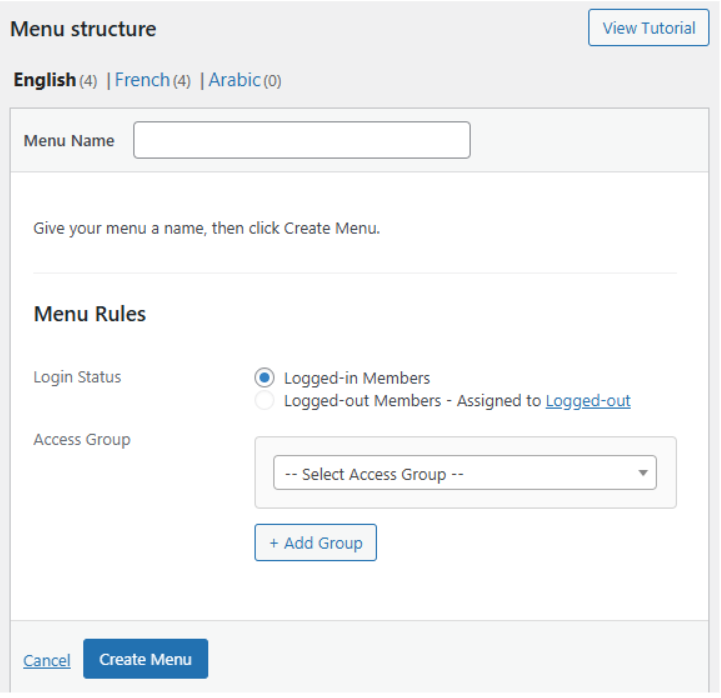
- Under Access Group, select one or more relevant groups.
- Click Create Menu.
- Add desired items using Add Menu Items.
- Click Save Menu.
Styling the Tab Bar #
Control how the Tab Bar looks across all menus:
- Go to Learndash App > Menus > Tab Bar.

- Toggle Icon Labels to show or hide labels below icons.
- Choose Tab Bar Icon Style:
- Outlined
- Boxed
- Outlined
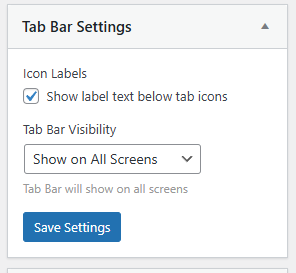
- Set Tab Bar Visibility to:
- Show on Tab Bar Menu
- Show on All Screens
- Show on Tab Bar Menu

- Click Save Settings.
These style settings apply globally to all Tab Bars.
Styling the More Menu #
Customize the look of the More Menu:
- Go to Learndash App > Menus > More Menu.
- Choose a More Menu Icon Style:
- Outlined
- Boxed
- Outlined
- Click Save Settings.
These style settings also apply globally to all More Menus.
Setting Menu Priority #
When a member qualifies for multiple menus, Learndash App uses your menu priority to decide which one to show:
- Go to Learndash App > Menus > Menu Priority.
- Click Set Menu Priority.
- Drag and reorder the menus (highest priority goes to the top).
- Click Save Changes.
If a member belongs to multiple Access Groups, they’ll see the highest-priority matching menu.
Troubleshooting and FAQs #
Q: My logged-out menu isn’t appearing.
A: Make sure Private App is disabled under Learndash App > Settings > General > Privacy. Logged-out menus won’t load if this setting is enabled.
Q: A member in two groups sees the wrong menu.
A: Reorder menus under Menu Priority and use Recalculate Members under Learndash App > Access Controls > Access Groups to ensure proper matching.
Q: Style changes aren’t reflecting.
A: Force-close and reopen the app to clear the cache and fetch the latest menu settings.
Q: Can I style More Menus differently per group?
A: Styles apply globally, but you can upload custom icons or manually adjust colors for each menu item for a personalized touch.