The LearnDash Notifications add-on can send emails to your students after certain actions occur on your site, like completing a course, finishing a lesson, passing/failing a quiz, etc. You can customize when these notifications are sent, who receives them, and the entire email message itself. You can even insert dynamic content for each user, and insert different content based on the specific action that occurred.
Installation #
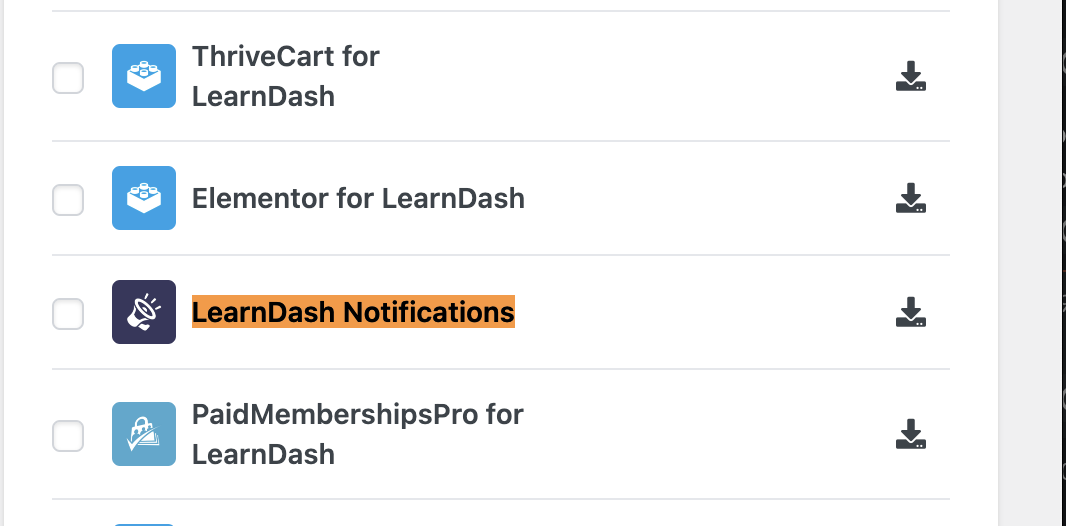
Option 1: Add-ons Menu (requires an active LearnDash license) #
- In your WordPress admin area, navigate to LearnDash LMS > Add-ons
- Locate the LearnDash Notifications add-on
- Click Install Now (Arrow Down Icon)
- Click the Activate Plugin button
Option 2: Manual Upload #
- Download the plugin file (must be logged into download)
- In WordPress, navigate to Plugins > Add New
- Click Upload Plugin
- Browse for the
.zipfile you downloaded in Step 1 - Click Install Now
- Click Activate Plugin
Status Menu #
This menu is located under LearnDash LMS > Notifications > Staus and is meant for helping you troubleshoot issues you are having with your notifications.

Status #
This section provides an overview of the following information:
- Server Cron Setup: Detects whether you have configured a cron job for sending notifications.
- Queued Emails in DB: Number of emails that are scheduled to be sent in the database.
- Last Run: The last time the cron job was successfully triggered.
NOTE: Cron jobs are used to improve the deliverability of notifications. See sections on Email Deliverability, FAQ: My emails are not being delivered, and How can I make email notifications send on time? to learn more about about cron jobs and how and when to use them.
Tools #
This section provides two troubleshooting options:
- Empty DB Table: Clears the database of queued emails.
- Fix Scheduled Notification Recipients: Queries and refreshes the queued emails in the database.
Create a Notification #
To get started creating a notification…
- Navigate to LearnDash LMS > Notifications
- Click the Add New Notification button

NOTE: There is no limit to the number of notifications you create, but you should give some thought to how much email you are sending your users. Also keep in mind that most web servers (where you host your website) are not designed to send a lot of email. See our email deliverability section below if you’re having issues.
Title #
Your notification title will serve as the email subject line.
Email Content #
The next section is where you’ll put the content of your notification the message you want to send your users. You can use the formatting buttons at the top, insert images, switch from Visual to Text mode (if you’d like to write your own HTML), etc.
You have a lot of freedom here, but keep in mind the reason why you’re sending it, and your user’s attention span. Sometimes short & to the point is the most effective.

Email Trigger #
The email trigger is the action that will cause your email to be sent. Depending on the trigger you choose, you might see a few additional options.
For example, when choosing the User completes a course trigger, you can send an email each time any course is completed (“All Courses”), or select the specific course or courses that you want this notification to apply to. Since we now allow multiple triggers, you can add more than one course on the selection. If you want to remove a course, simply click the “x” right next to the course on the field. The same options apply for specific lesson, topic and quiz notifications.
If you select to send notifications to a specific lesson, topic, or quiz, you first have to specify the course that they belong to, and go down through the options to select the specific, lessons, topic and quiz.
Some triggers, like those for assignments and essay questions, dont have any additional options, and apply universally.
Complete List of Triggers #
As of LearnDash Notifications version 1.6.0, here is the complete list of triggers to choose from:
- User enrolls into a group
- User enrolls into a course
- User completes a course
- User completes a lesson
- A scheduled lesson is available to user
- User completes a topic
- User completes a quiz
- User passes a quiz
- User fails a quiz
- User submits a quiz
- An essay has been submitted
- An essay question has been graded
- An assignment is uploaded
- An assignment is approved
- User hasn’t logged in for “X” days
- “X” days before course expires
- “X” days after a course expires
- Grade manually added to the Gradebook for a Student*
*This trigger is only available if Gradebook premium add-on is installed.
Exclude Pre-Ordered Courses #
This option will display when choosing the User enrolls into a course trigger above. You muse use the course start date option and set a date for the future for this feature to work correctly.
Check the box Exclude Pre-Order Course if you wish to exclude users whose course has not started yet from receiving this notification.
Conditions #
With the recent updates to the notification add on, version 1.6.0, you can now also add conditions to each of your notifications. Simply click on the + sign next to the conditions field.
These conditions will allow you to further filter the notifications sent out to your recipients. The list of conditions are as follows:
- User is enrolled to a group
- User is enrolled to a course
- User has completed a course
- User has completed a lesson
- User has completed a topic
- User has submitted a quiz
- User has completed a quiz
- Essay has just been submitted
- Essay question has just been put into graded status
- User has uploaded an assignment
- User’s assignment has been approved
- User has not completed a quiz
Once you select a condition, for example, User has completed a quiz. You must specify and determine the quiz that the user has to complete in order to get the notification. You can do this by selecting the course, all the way down to the lesson, topic and the specific quiz. This is the same for courses, lessons, and topics. Some conditions, like those for assignments and essay questions, dont have any additional options, and apply universally.
You can add as many conditions as you want, but know that for the notification to send and push through, the parameters that you set on the trigger and condition must both be true. You can add more conditions by clicking on the + icon at the bottom.
Using Shortcodes #
Depending on the email trigger you select, some shortcodes are available to display dynamic content. You can use these shortcodes in the email content section to personalize your message.
You could start off with a personal greeting by using the student’s first name:
[ld_notifications field="user" show="first_name"]If your trigger involved a specific course, show the course title:
[ld_notifications field="course" show="title"]You could also provide a link directly to the course page, encouraging the user to continue learning or download a certificate. Highlight the text you want to link, click the link icon, and insert this shortcode:
[ld_notifications field="course" show="url"]Don’t forget to choose your trigger first, and then look at the bottom of the Add New Notification screen to see a list of all available shortcodes.

Recipient(s) #
All email notifications let you choose the recipient(s). There are a few predetermined options, as well as a place for you to add custom email addresses.
- User: Check this box to send the notification to the user.
- Group Leader: If you are using LearnDash groups, check this box to send the notification to the user’s group leader(s).
- Admin: Check this box to send the notification to all people who have the Administrator role assigned to them.
You can choose one, two or all three of the above options.
Additional Recipients
For each notification, you can also provide additional email addresses. In the Additional Recipient field, enter as many emails as you’d like, separated by commas.
- Example: [email protected], [email protected]
NOTE: You must select at least 1 of the 3 recipient options (user, group leader, admin) in order for the additional recipients to receive the notification.
Delay #
Delay specifies how many days this email is delayed after the trigger occurs. The default is 0 days, which means the email will be sent as soon as the trigger fires. You can specify a different number if you’d like your email to go out on a delay.
Publish Notification #
The final step is to click the Publish button to make your notification live.

Manage Existing Notifications #
You can manage your notifications from the main Notifications page. Navigate to LearnDash LMS > Notifications to access all of your existing notifications.

Some of the things you can do include:
- Search for a specific notification
- Filter your list of notifications to provide a better overview. Filter by:
- Course
- Lesson
- Topic
- Quiz
- Trigger
- Edit an existing notification by clicking the Edit link, or just click the notification title
- Delete a notification by clicking the Trash link
NOTE: Once a notification has been published, you will not be able to edit the trigger. You will still be able to edit the content (text, images, shortcodes, etc.) and recipients. If you need to use a different trigger, please create a new notification.
Unsubscribe From Notifications #
Any email sent from LearnDash Notifications includes an Unsubscribe option for recipients. There is not a setting to turn this off as it is a legal requirement.
Email Deliverability #
By default, all emails sent from your website are sent by your web host. Generally speaking, hosting servers are designed to host websites, not send email. This could be preventing your emails from being delivered.
Luckily, there are ways to change how your email is sent. We recommend looking into the following options as a way to improve your email deliverability, and better ensure your notifications make it to their recipient(s).
Each option comes with different sending limits and features. We encourage you to do some research and choose the best option for your site.
- Solid Mail by SolidWP
- SparkPost + SparkPost plugin
- SendGrid + SendGrid plugin
- WP Mail SMTP plugin, which allows you to use SendGrid, Mailgun, Gmail or any other SMTP server
NOTE: If you believe you have set up one of the recommended options properly, and your emails are still not being delivered, please open a support ticket.
Getting Emails to Send #
In this webinar, we discuss why your WordPress emails are not sending and the options you have avaiable for getting your emails to send on-time, every time!
FAQ & Troubleshooting #
Why don’t “User completes lesson/topic/quiz” triggers work in Blended Learning with attendance required when I manually mark a step complete for a user? #
In Blended Learning with Attendance set to “Yes”, course steps are manually marked complete by an admin through the user’s WordPress profile. However, triggers like “User completes lesson/topic/quiz” only fire when the learner completes the step themselves through the course.
Manually marking the step as complete will not trigger the automation. For triggers to work properly, the user must finish the step on their own.
Where can I see the status of my notifications? #
The Status Menu will give you an overview of the current status of your cron job and notifications. Notification delivery, insert, update, and delete notifications are logged in a log file:/wp-content/uploads/learndash/learndash-notifications-actions.log
How do I change the default FROM address for WordPress? #
By default, your emails will use the default WordPress FROM name and email address:
- From Name: WordPress
- From Email: [email protected]
To customize this, you can use the following code. Change the “Company Name” and “[email protected]” values in the example below.
// Change Sender Email Address
function wpb_sender_email( $original_email_address ) {
return '[email protected]';
}
// Change Sender Name
function wpb_sender_name( $original_email_from ) {
return 'Company Name';
}
// Add Filters
add_filter( 'wp_mail_from', 'wpb_sender_email' );
add_filter( 'wp_mail_from_name', 'wpb_sender_name' );
We recommend installing the Code Snippets plugin, and adding this code as a snippet.

- In the WordPress admin area, navigate to Plugins > Add New
- Search for “Code Snippets”
- Click Install, then Activate
- Navigate to Snippets > Add New
- Give your snippet a title (for internal use only)
- Paste the code in the Code area
- Click Save Changes and Activate
My emails are not being delivered. #
Scheduled notifications that miss their timestamp will then be sent when the next cron job runs. For additional guidance on improving the delivery of your emails, please see the section above on Email Deliverability.
Check your Spam Inbox. Sometimes, Emails are filtered and land straight to the Spam inbox. Make sure it is not the case before starting to troubleshoot.
How do I test these notifications? #
In order to test these notifications, you have to accomplish what you have put on the Trigger of the notification.
My emails are not being sent. #
If the emails are not being sent, please verify your SMTP logs. Also, you can check your PHP Error logs to confirm if this is not coming from a plugin conflict. You can access your logs via SFTP. Contact your hosting provider for more information.