The Display and Content settings in LearnDash Lessons help enhance student engagement. Course creators can include supplemental materials, enable video requirements, allow assignment uploads, or use a lesson timer to guide student progress.
Before You Begin #
To access the Display and Content settings for a Lesson:
- Navigate to LearnDash LMS > Lessons in the WordPress Dashboard.
- Click on the Lesson to edit.
- Click the Settings tab.
- Scroll to the Display and Content Options section.
Only one of the following features can be enabled per Lesson:
- Video Progression
- Assignment Uploads
- Forced Lesson Timer
Enabling one will disable the others.

Adding Lesson Materials #
Lesson materials are optional resources that support the Lesson content. These might include:
- PDFs or downloadable files
- Images or audio files
- Links to external websites
To add Lesson Materials:
- Toggle on the Lesson Materials option.
- Enter your content in the provided field (HTML is supported).
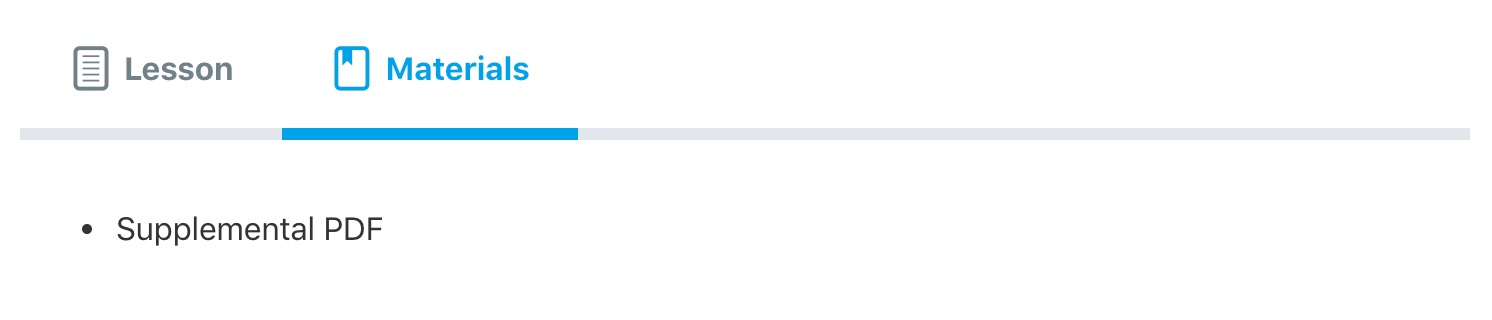
Tip: Lesson materials appear in a separate tab next to the main Lesson content.
NOTE: Between video progression, assignment uploads and lesson timer, only one of the three can be enabled at a time. Enabling one of these options will make the other two inaccessible.
Setting Up Video Progression #
The Video Progression feature ensures students watch the entire video before completing the lesson. Check out the full guide on Video Progression for detailed instructions.
Video Progression ensures Students watch the entire video before completing the Lesson.
- Toggle on Video Progression to enable this feature.
- For detailed setup, see Using Video Progression with Lessons.
Note: Enabling Video Progression will disable Assignment Uploads and the Forced Lesson Timer.
Enabling Assignment Uploads #

To allow users to upload assignments to the lesson, enable the Assignment Uploads option. You’ll be presented with a few additional options:
File extensions #
Allow students to upload files as part of their Lesson submission.
To enable Assignment Uploads:
- Toggle on the Assignment Uploads option.
- Configure the following options:
File Extensions #
- Enter allowed file types (e.g.,
doc, pdf, jpg) — without the period. - Separate multiple types with commas.
- Leave blank to allow all file types.
Example: doc, docx, xls, xlsx, ppt, pptx
Here’s a list of common file extensions
File size limit #
Enter a value like 5M to limit uploads to 5 megabytes.
The lower value between your setting and your hosting limit will be used.
NOTE: If file uploads are failing, check your host’s upload limit.
Points #
- Toggle on Points to award points for submissions.
- Enter the number of points students should earn.
Grading Type #
Choose how assignments are approved:
- Auto-approve (default): Files are accepted instantly, and points awarded automatically.
- Manually approve: Admin or Group Leader must approve before the Lesson can be marked complete.
If using manual approval, two additional options appear:
- Limit Number of Uploads: Set a maximum number of files per student. Leave blank for unlimited.
- Allow File Deletion: Let students delete uploaded files before approval.
Note: Assignment Uploads are not available if Video Progression or a Lesson Timer is enabled.
Adding a Forced Lesson Timer #
The Forced Lesson Timer requires students to stay on the Lesson page for a set time before marking it complete.
To enable:
- Toggle on Forced Lesson Timer.
- Enter the required time in this format:
HH:MM:SS(e.g.,00:15:00for 15 minutes).
The timer will display below the Mark Complete button. This setting cannot be used with Video Progression or Assignment Uploads

Note: A lesson can only use one of these features at a time: Video Progression, Assignment Uploads, or Forced Lesson Timer. Choose the one that aligns best with the Lesson’s objectives.
Next Steps #
Depending on how each Lesson is structured, choose the feature that best supports learning goals:
- Use Video Progression to ensure content is fully viewed
- Enable Assignment Uploads for student-submitted work
- Apply a Lesson Timer to pace learning
For more customization options, see Lesson Settings.