Introduction #
Before generating Android builds or syncing in-app purchases with your Google Developer account, you must configure three essential components: your Application ID, your KeyStore certificate, and register your Application ID in Google Play. This guide walks you through each step in your WordPress admin and the Google Play Console.
Setting Your Application ID #
Your Application ID uniquely identifies your app on Google Play. It must:
- Consist of at least two dot-separated segments (e.g., com.fruit.oranges).
- Start each segment with a letter.
- Contain only letters, numbers, and underscores.
- Be unused by any other app.
- For test builds, append .test (e.g., com.fruit.oranges.test).
- In WordPress, go to Learndash App > Configure > Android Settings.
- Under App Configuration, enter your chosen Application ID.

- In WordPress, go to Learndash App > Configure > Android Settings.
- Under App Configuration, enter your chosen Application ID.

- Click Save Changes.
Note: To reserve your Application ID and prevent conflicts, register an app in the Google Play Console using a build with that ID (see “Registering Your Application ID” below). Also register the same ID in Firebase (refer to our Firebase setup guide).
Generating and Importing Your KeyStore Certificate #
Generating a KeyStore #
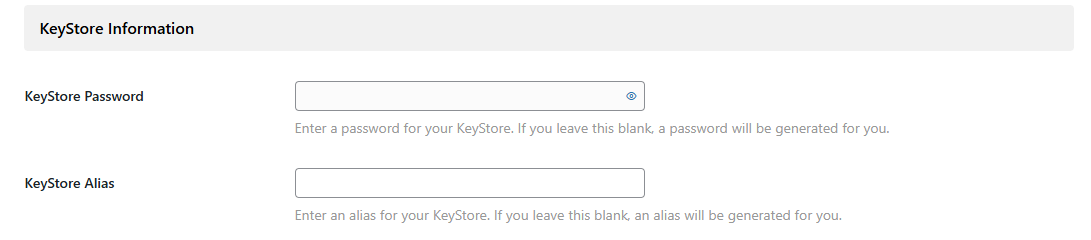
- In WordPress, navigate to LearnDash App > Tools > Generate KeyStore.
- Enter a KeyStore Password and KeyStore Alias (leave blank to auto-generate).

- In WordPress, navigate to LearnDash App > Tools > Generate KeyStore.
- Enter a KeyStore Password and KeyStore Alias (leave blank to auto-generate).
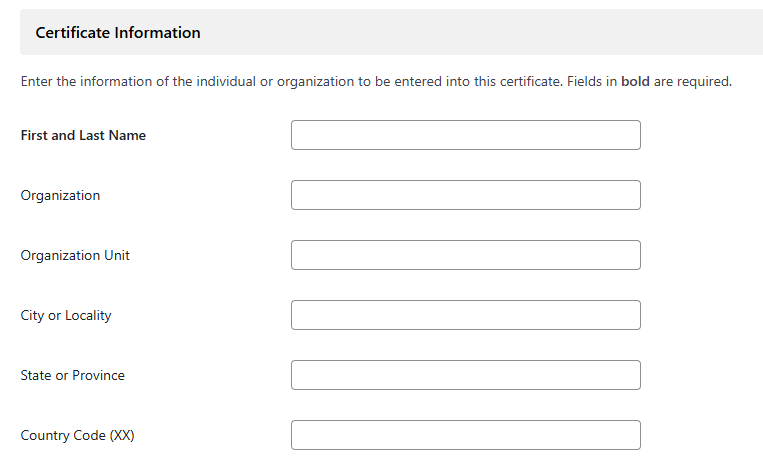
- Complete the certificate details (First & Last Name required; Organization optional).
- Click Generate.
- Check the confirmation box and click Download to save the ZIP containing your KeyStore.
- Back up this ZIP securely. Lost KeyStores cannot be replaced, and you’ll need it for all future updates.
Importing Your KeyStore #
- In WordPress, go to Learndash App > Configure > Android Settings.
- Under KeyStore Information, click Import.
- Select the ZIP folder you downloaded.
- Click Save Changes.
Registering Your Application ID with Google Play #
Reserving your Application ID prevents others from claiming it. You do this by uploading any release build with that ID.
Prerequisite: You’ve already generated a Release App build under Learndash App > Build.
- Log in to the Google Play Console.
- Go to All apps, select your app, then under Release choose Production.
- Click Create new release.
- In App bundles, click Upload and select the AAB file built with your Application ID.
- Click Save to register the ID.
Note: Once registered, all future builds must use this exact Application ID.
Troubleshooting and FAQs #
Q: My new Application ID doesn’t appear in Android Settings.
A: Click Refresh Bundle IDs, reload the page, and ensure no caching plugin is blocking updates.
Q: The KeyStore import fails with an error.
A: Confirm you’re uploading the original ZIP generated by the Learndash App tool. Do not extract or modify its contents before import.
Q: I get “Invalid Application ID” in Google Play Console.
A: Ensure your AAB build was generated using the exact Application ID you entered in Android Settings.
Q: How can I reserve my Application ID without publishing live?
A: Simply upload any Release App AAB in the Create new release screen and click Save. No need to roll out the release.
Q: Can I change my Application ID later?
A: No. Once registered, the Application ID is permanently reserved. To publish a different app, you must choose a new ID.